How to Replace Door Hinges Successfully
Posted on
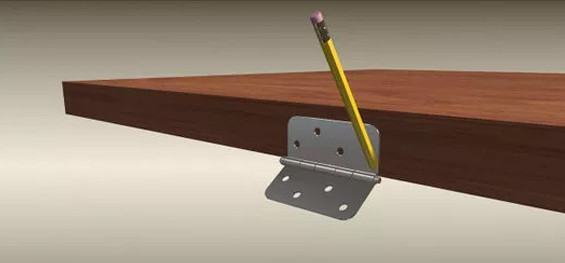
When you want to buy door decorative hardware, the first step is to find something that works with your current setup. Although it might be tempting to grab something you like, it takes a few steps to have a successful hinge replacement.
Hinges come in several different styles that are often dependent on the door you have at home. Interior and exterior installations can also dictate the decorative hardware you’ll need.
Before getting started, you’ll need to decide if you want a spring action or a wide leaf hinge. One lets the door open wider than the other, which is useful when the door opens both ways. After that, think about the finish you want.
It’s common to match the finish of the handles and other decorative hardware to your new hinges.
Steps to Follow to Replace a Door Hinge
Once you’ve found the decorative door hinges that you want to install, here are the steps to follow to have a successful experience.
1. Keep the Door Steady
Open your door so that the entire hinge is exposed and open. Place wood blocks underneath (or a sturdy doorstop) to keep it still and steady. Since you aren’t removing the door, the supports help to prevent it from falling.
2. Measure the Installation
You’ll need to double-check that the new hinges you’ve purchased match the ones you’re replacing. They must have the same edge shape and size for a successful swap. It helps to use a tape measure to ensure the upgraded product is installed correctly.
Unless the door is non-standard, you’ll find that the top hinge is seven inches from the top of the frame, while the lower is 11 inches from the bottom.
If the measurements are incorrect, you’ll need to cut the mortise to install the new hinge.
3. Remove the Old Hinges
Once your measurements are certain, you can remove the older hinge. Most installations have three or four screws in the jamb and the door to manage. Your new hinges should come with their own hardware so that you can dispose of the items appropriately.
Older hinges sometimes have the screw holes stripped out. In that situation, insert an anchor to ensure a solid installation.
4. Repair the Door (Optional)
Older hinges tend to stick. If part of the door or jamb is pulled away when removing them, you’ll need to repair these areas. Wood putty will get the job done, especially when given a day or two to dry.
To complete the repair, you might need to sand, paint, or stain the door before installing the new hinges.
5. Install the Hinges
Place the new hinge in the location of the older one. Use the package screws to secure both sides. Once finished, place the hinge pin into the hardware. Repeat as needed until the door supports its own weight.
You can now remove the blocks from beneath the door. Test it repeatedly, opening and closing frequently, to ensure smooth operations. If it’s easy to use the door, your job is finished!
CATEGORY : Door & Gate Hardware
LEAVE A COMMENT